
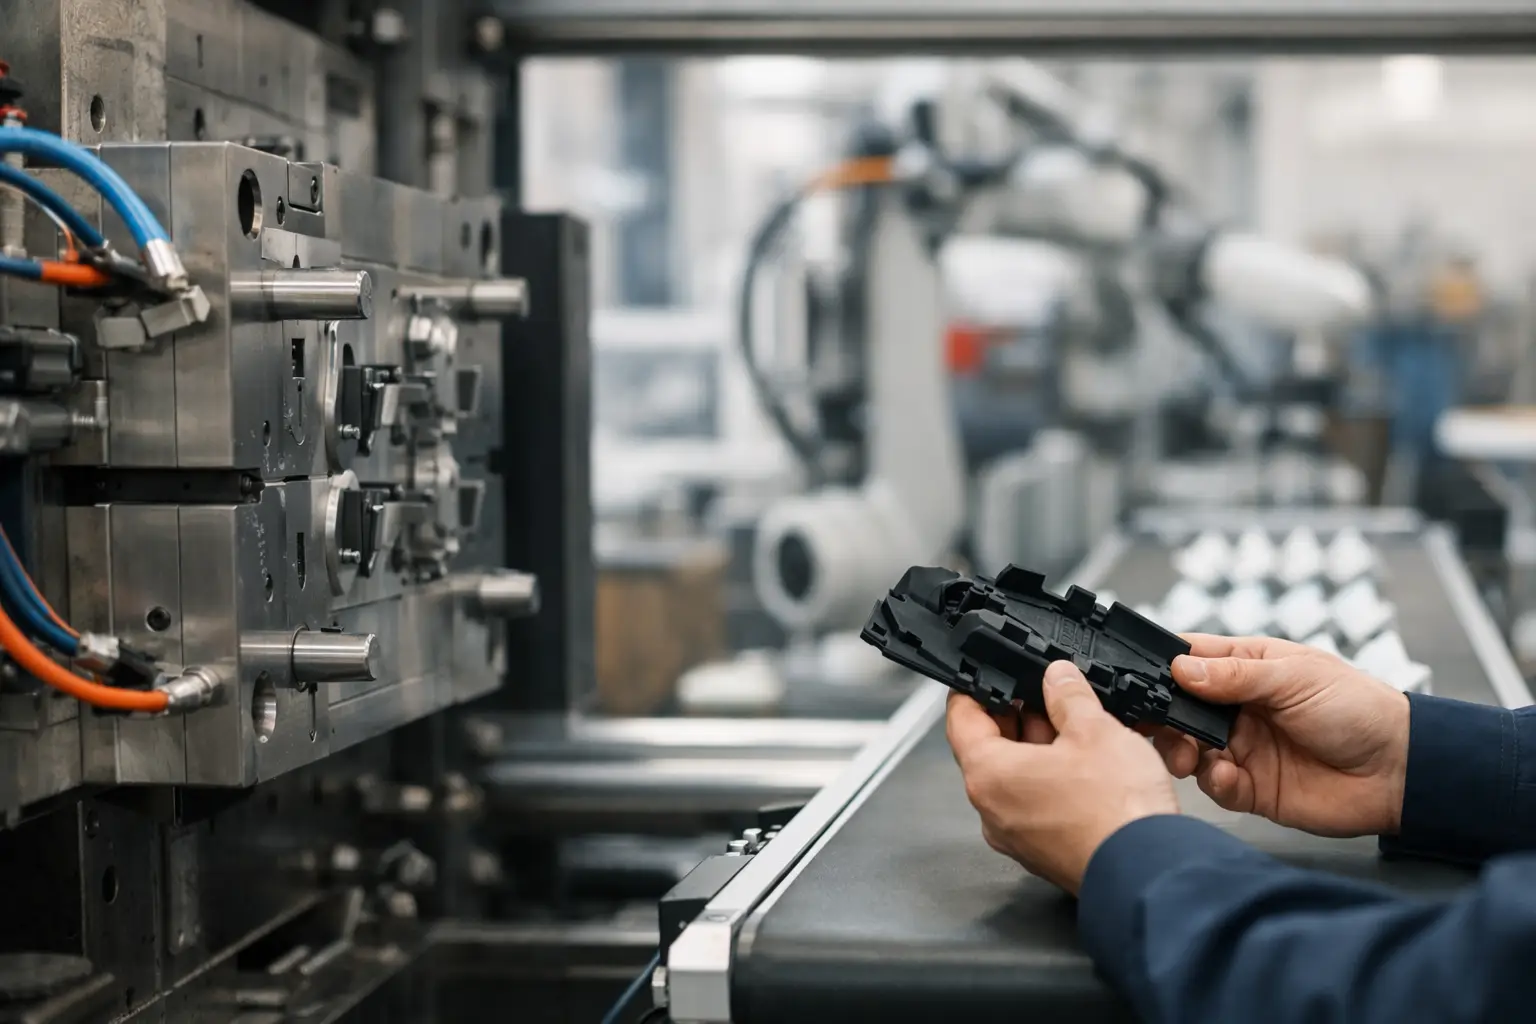
Outsourcing plastic injection moulding can lower unit costs and provide access to specialist tooling, materials and production capacity. It also creates long-term commitments: the mould is expensive, design changes become harder after steel is cut and a weak process can reproduce the same defect thousands of times. Successful outsourcing therefore begins well before the first production order.
This practical guide covers part design, tool ownership, material control, supplier qualification, sampling and series quality. It is written for OEMs and industrial buyers who want predictable moulded parts rather than only the lowest quoted piece price.
When is outsourcing plastic injection moulding suitable?
Injection moulding becomes attractive when demand is high enough to recover the tooling investment and the design is reasonably stable. It can produce complex shapes, integrated features and consistent surfaces with short cycle times. For suitable components, the process can replace several machined or assembled parts with one moulded part.
The business case depends on lifetime volume, not just the first order. Calculate the mould, development samples, validation, material, cycle time, secondary operations, inspection, packaging and logistics. Include expected maintenance and the risk of engineering changes. A lower unit price from a distant supplier may still be unattractive if the tool requires frequent correction or the material specification is poorly controlled.
For uncertain demand or an evolving design, consider prototypes or bridge tooling first. A structured prototype manufacturing phase can validate function before committing to a full production mould.
Design the part for the moulding process
Design for manufacture has a large influence on quality and cost. Injection-moulded parts should generally use consistent wall thickness because large variations can create uneven cooling, sink marks, warpage and filling problems. Ribs can add stiffness without creating a solid, slow-cooling section. Transitions should be smooth and internal corners should use suitable radii.
Draft angles help the part release from the tool. The required angle depends on material, surface texture, depth and geometry; textured surfaces usually need more draft than polished ones. Undercuts may require slides, lifters or other moving tool elements, increasing tooling cost and maintenance. Gate position, weld lines, ejector marks and the parting line should be reviewed against functional and cosmetic surfaces.
These rules are not universal numbers that can be copied into every design. Resin behaviour, part geometry and the supplier’s process all matter. Complete a formal product optimisation and DFM review with the moulder before tool design is approved.
Specify the polymer, colour and allowed variation
“ABS” or “nylon” is rarely a complete material specification. Define the exact grade or the required performance, including reinforcement, flame rating, UV resistance, operating temperature, colour and regulatory requirements. If recycled content or an alternative grade is allowed, record the conditions for approval.
Material storage and drying can affect appearance and mechanical performance. Ask how the supplier prevents contamination, controls regrind and traces resin batches. For coloured or cosmetic parts, agree an approved master sample and viewing conditions. Colour can vary between batches, and gloss, texture and wall thickness can change how it is perceived.
Changes to resin, masterbatch or source must be controlled. A commercially convenient substitution can alter shrinkage, fit, strength or compliance. The purchase specification should require written approval before any material change.
Define tool ownership and responsibilities
The mould is a valuable production asset. The contract should state who owns it, where it will be stored, how it will be identified and whether it may be used only for your products. Clarify access to tool drawings, maintenance records and the right to move the tool if the relationship ends.
Agree what the tooling quotation includes: design, mould-flow analysis, steel grade, number of cavities, hot or cold runner, standard components, surface texture, expected tool life, trial rounds and modifications. Define who pays for changes caused by an incomplete design and who is responsible when the tool does not meet the approved specification.
Maintenance is equally important. Set cleaning and preventive-maintenance intervals, record the number of cycles and require approval for significant repairs. Storage should protect the tool from corrosion and damage. A transfer procedure should cover condition checks, spare parts and all technical documentation.
Choose a moulder for the complete programme
A supplier must fit both the tool and the ongoing production model. Review experience with similar materials, part size, cosmetic demands and annual volumes. Check machine tonnage, shot size, automation, drying equipment, toolroom capability and measurement resources. Confirm how capacity will be reserved for repeat orders.
Quality certification is useful, but evaluate the actual process. How are settings established and locked? How are start-up parts approved? Are material lots and production batches traceable? How does the supplier control cavity-to-cavity variation in a multi-cavity tool? How are non-conforming parts physically separated?
Use the same evidence-based approach described in our guide to choosing a reliable manufacturing partner. For a high-value mould or critical part, an on-site audit and witnessed trial can be justified.
Approve the mould in controlled sampling stages
Tool trials should follow an agreed plan. The first trial checks basic filling, ejection and tool function. Later trials refine dimensions, appearance and process stability. Record the resin, machine, process settings and cavity identification for every sample round so results can be compared.
Inspect samples against the drawing and the functional requirements. Dimensional reports alone are not always sufficient: assemble the part, test clips and threads, verify sealing surfaces and perform application-specific tests. Allow moulded parts to condition for an appropriate period before measuring when material behaviour requires it.
Do not approve a tool on a handful of hand-selected parts. The final validation should demonstrate a stable production window over an agreed run. It should produce enough consecutive parts to evaluate consistency, cycle time and all cavities. Approval samples, golden samples and signed reports then become the reference for series production.
Control dimensions, appearance and defects
Create a control plan for the characteristics that matter most. It may include incoming resin verification, start-up approval, in-process weight or dimension checks, visual standards and final sampling. The frequency should reflect risk and demonstrated process capability.
Typical moulding defects include sink marks, short shots, flash, burn marks, weld lines, warpage, flow marks and contamination. The acceptable limit depends on function and visibility. Use photographs or limit samples for cosmetic criteria that cannot be communicated reliably with words alone.
If a dimension is critical, confirm that the gauge and method are suitable. For assemblies, measure the functional result rather than every feature independently when possible. Independent pre-shipment quality control can verify that the approved standards are still being followed.
Plan secondary operations and assembly
Moulded components may need printing, painting, ultrasonic welding, inserts, machining or assembly. Each additional step introduces its own fixtures, defects and traceability needs. Include these operations in the process flow and sample approval rather than qualifying only the bare moulded part.
For metal inserts, define material, plating, orientation and pull-out requirements. For printing and decoration, agree adhesion tests, location and colour standards. When several components are assembled, control the bill of materials and approved revisions. Our guide to outsourcing industrial assembly explains how to set up those controls.
Manage series orders, inventory and logistics
Injection moulding is efficient when the order pattern matches the production setup. Agree economic batch sizes, lead time, forecast visibility and raw-material availability. Determine whether finished stock, safety stock or scheduled call-offs are appropriate. Avoid building inventory only to obtain a lower unit price if designs or demand may change.
Packaging should prevent scratches, deformation and contamination. Parts that can nest or interlock may need separators. Heat and prolonged loading during transport can also affect thin or flexible components, so the packaging design should be validated under realistic conditions.
Use batch labels to connect delivered parts to material lots, production date, machine, tool and inspection records. Good traceability supports fast containment if a problem occurs and helps isolate affected stock without rejecting every delivery.
Plastic injection moulding outsourcing checklist
- Confirm lifetime volume and total tooling business case.
- Complete DFM before approving the tool design.
- Specify resin grade, colour, compliance and change rules.
- Document ownership, tool life, maintenance and transfer rights.
- Qualify the supplier’s machines, process control and metrology.
- Use controlled sample rounds and a stable validation run.
- Approve dimensional, functional and cosmetic standards.
- Control secondary operations, packaging and batch traceability.
Build a production process, not just a mould
The best outsourcing result is a mould and process that continue to perform over the full product life. That requires early engineering, unambiguous ownership, verified material and disciplined series control. With those elements in place, injection moulding can provide scalable production with consistent quality and a competitive total cost.
TOS can coordinate design review, tool sourcing, supplier qualification, sample approval, quality control and international delivery. Share your CAD data, expected volumes and material requirements through our contact page to discuss a controlled route to production.